DIY Window Fitting: What You Need to Know
Getting Started with DIY Window Fitting
Embarking on a DIY window fitting project can be both exciting and rewarding. Whether you're renovating an old home or simply looking to upgrade your windows, doing it yourself can save money and provide a sense of accomplishment. However, it's essential to approach this task with the right knowledge and preparation.
Essential Tools and Materials
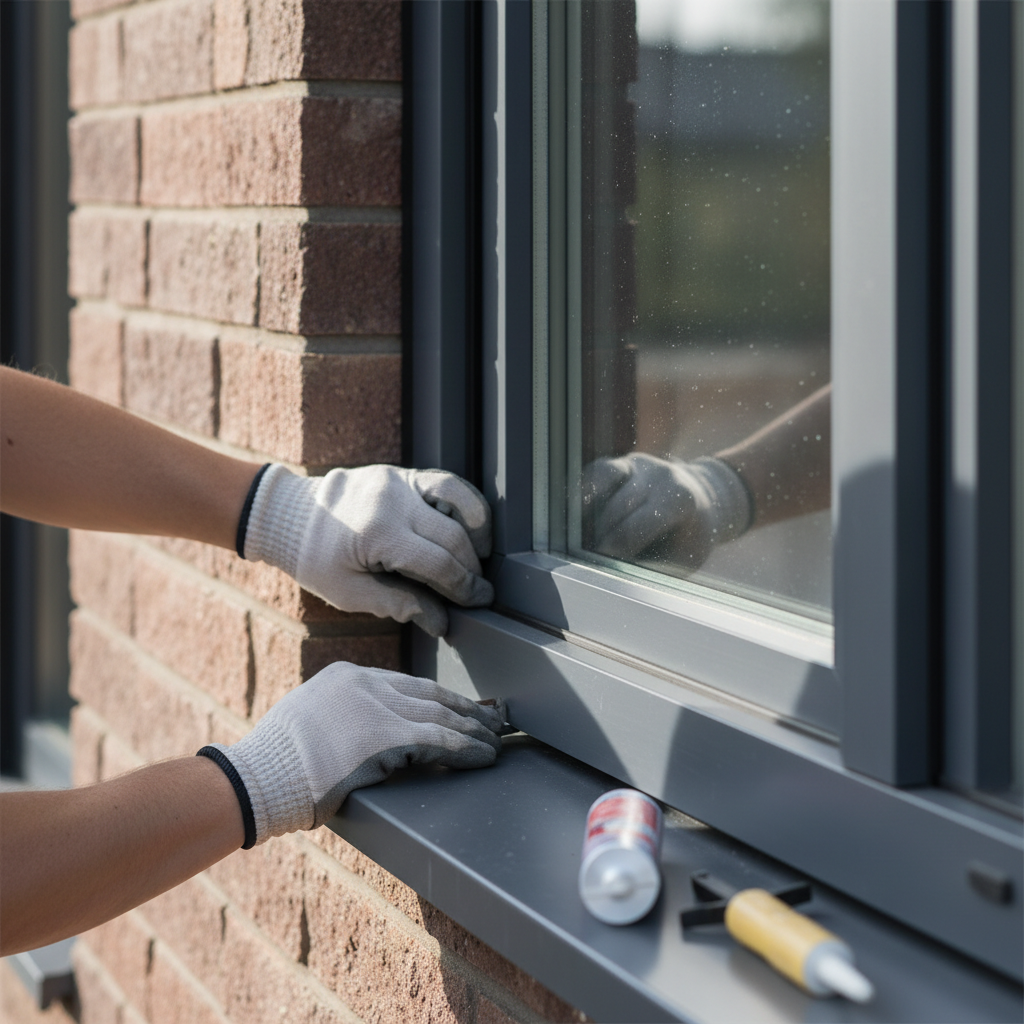
Before you begin, ensure you have the necessary tools and materials. Here's what you'll typically need:
- Measuring tape
- Spirit level
- Hammer and nails
- Screwdriver
- Sealant and caulking gun
- Safety glasses and gloves
Having these tools on hand will make the process smoother and help you avoid any unnecessary interruptions.
Measuring for Success
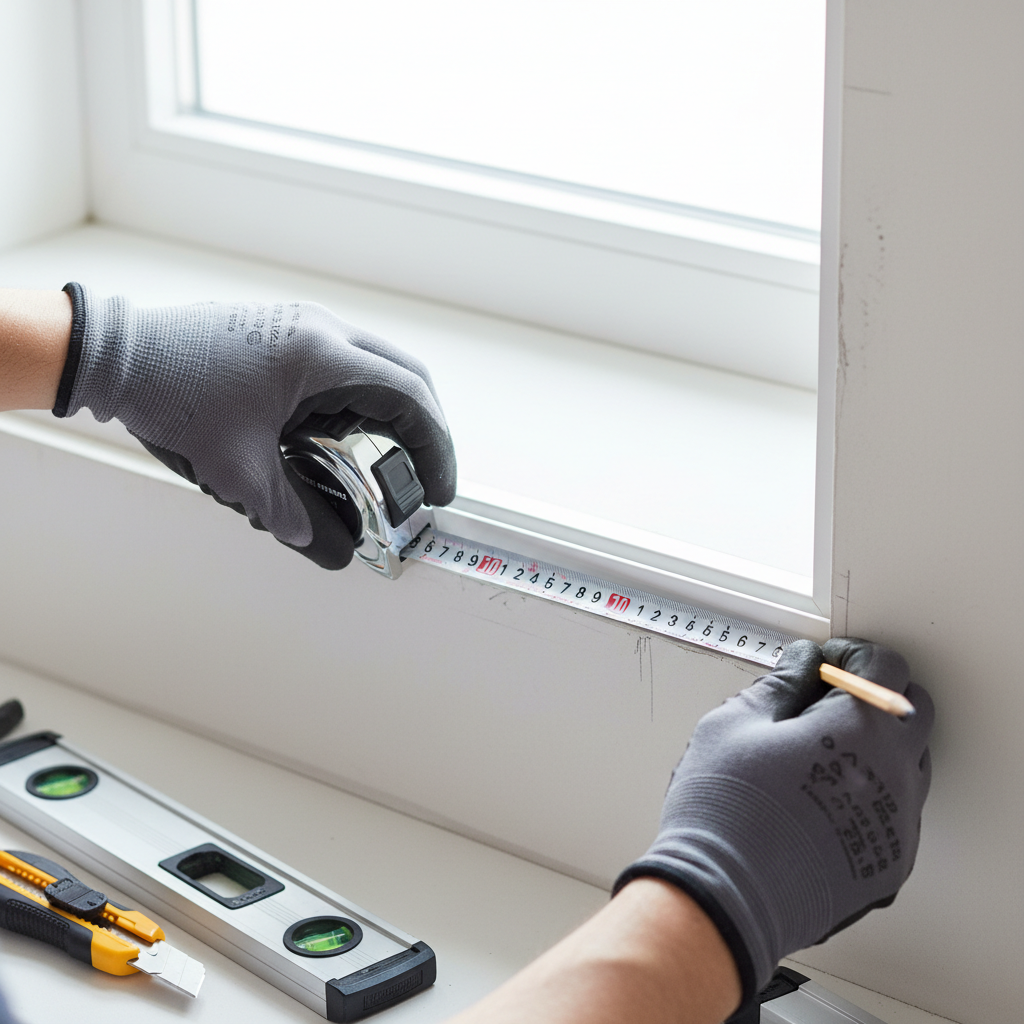
Accurate measurements are crucial for a successful window fitting. Start by measuring the height, width, and depth of the existing window frame. It's advisable to measure at multiple points to ensure consistency. This will help you purchase the right-sized window and avoid potential fitting issues.
Removing the Old Window
Once you have your measurements and new window ready, it's time to remove the old window. Carefully take out any screws or nails, and gently pry the window from the frame. Be cautious to avoid damaging the surrounding area, as this can lead to further repairs.
It's a good idea to have someone assist you during this step, especially if the window is large or heavy.
Installing the New Window
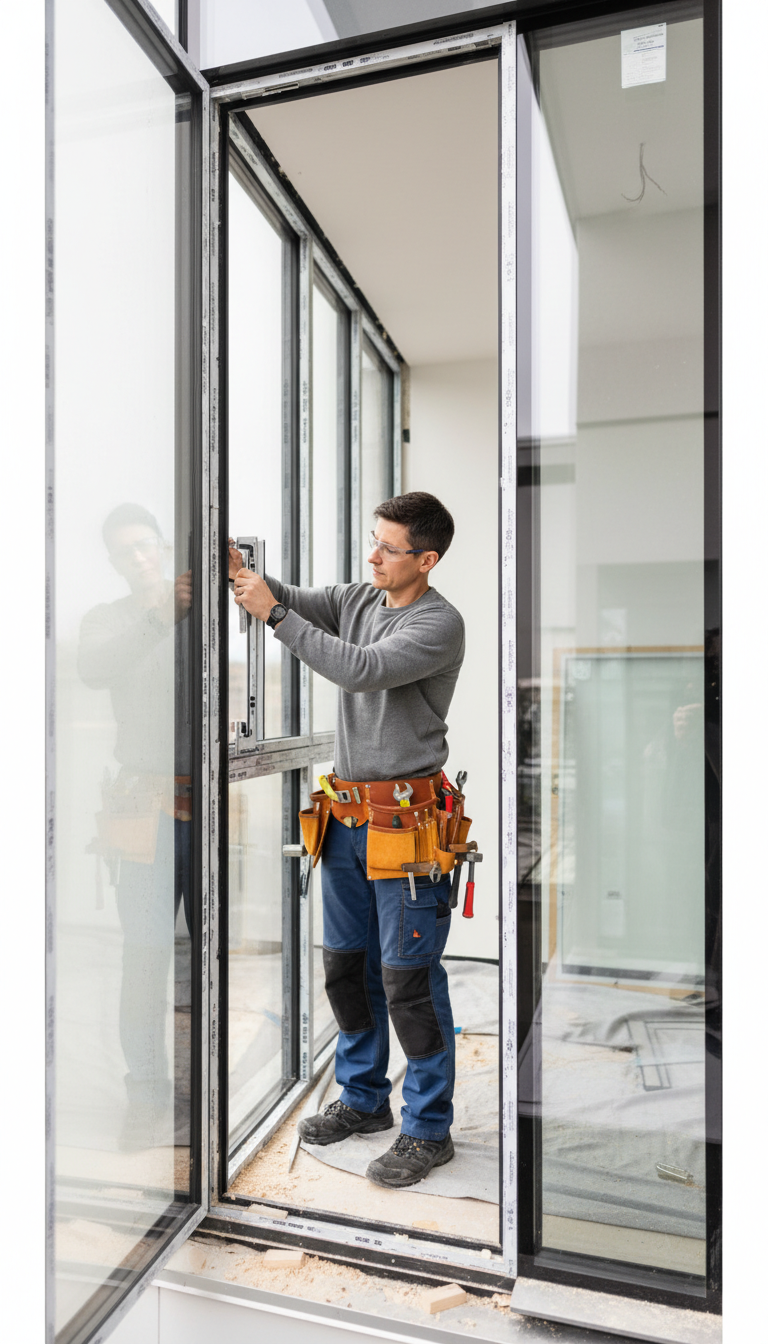
With the old window removed, you can now install the new one. Place the window into the frame, ensuring it's level and centered. Use a spirit level for accuracy. Secure the window with screws or nails, and double-check for any gaps or misalignments.
Sealing and Insulating
Proper sealing is vital to prevent drafts and moisture from entering your home. Apply a generous amount of sealant around the edges of the window, using a caulking gun for precision. Insulation can also be added to enhance energy efficiency and comfort.
Take your time with this step, as a well-sealed window will contribute to the longevity of the installation.
Final Checks and Maintenance
After installation, perform a thorough check to ensure everything is secure and functioning correctly. Open and close the window to test its operation, and inspect for any signs of leakage or improper sealing.
Regular maintenance is key to keeping your windows in top condition. Clean them periodically and check for any signs of wear or damage, addressing issues promptly to avoid costly repairs.
Conclusion
DIY window fitting is a manageable task with the right preparation and tools. By following these steps, you can achieve a professional-looking installation that enhances your home's appearance and efficiency. Remember, patience and attention to detail are your best allies in this project.